Thinking about and working on backgrounds
This is going to be an updated version of this guide. It was a long time coming but hopefully I can make a decent stab at it this time.
 MLPdrawingschool needs you to do your part
The reason I want to write this guide is that there seems to be a distinct lack of variety in backgrounds on here. I understand that most of the work is of a sketchy and of quick nature but even pieces that do feature landscape backgrounds seem to be very timid and bland.
Why have a background that goes beyond a simple color or gradient?
Backgrounds add depth and space to a picture. They can be used to draw your eye towards an area or just simply be pleasing to look at. They add context to a piece giving you more to work with in explaining the idea you are trying to convey with your art.
There are a few simple tips to keep in mind to make painting landscapes not seem too daunting. On the surface it seems like a lot of work but it's really not so hard.
 It's easy if you know how
 Let's learn how.
Use References
Always use references for everything, this is no exception. I don't know how to reiterate this point in a florid manner so uhhh...
Use References
Use References
Use References
There, that seems about right.
Contrast and Saturation
 What do you mean I have low chroma? Your face has low chroma.
The first important note is saturation and value. Saturation is how intense the color is, value is how bright a color is. For example, light red is a high-value colour, and dark green is a low-value colour. Here's a colour picker:
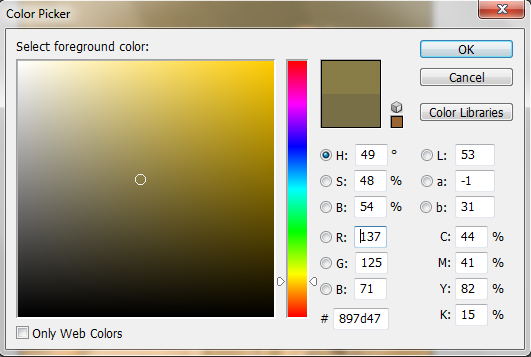
To the right is the fully saturated, intense color. To the left is the fully unsaturated grey value of the color. Up for higher values, down for lower values.
The color guides at the bottom of this list do a much better job explaining it then I can even understand, but I can give you the cliff notes version.
Saturation, Values, and Depth
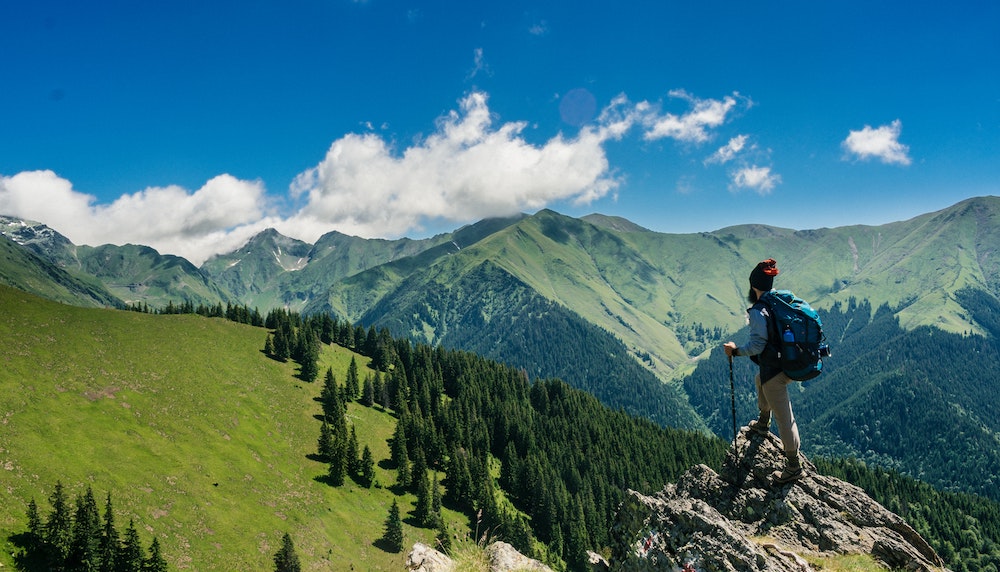
Generally, things farther away are less saturated than things closer up. They are also higher in value, or brighter and hue shifted towards a particular color. This is because of atmospheric perspective, as things recede away there is more air in the way and things start losing contrast and start looking more and more similar. Everything basically starts approaching a single value, hue and saturation.
Now on Earth, the color everything fades into is usually a really light and desaturated blue, because the atmosphere scatters blue back:
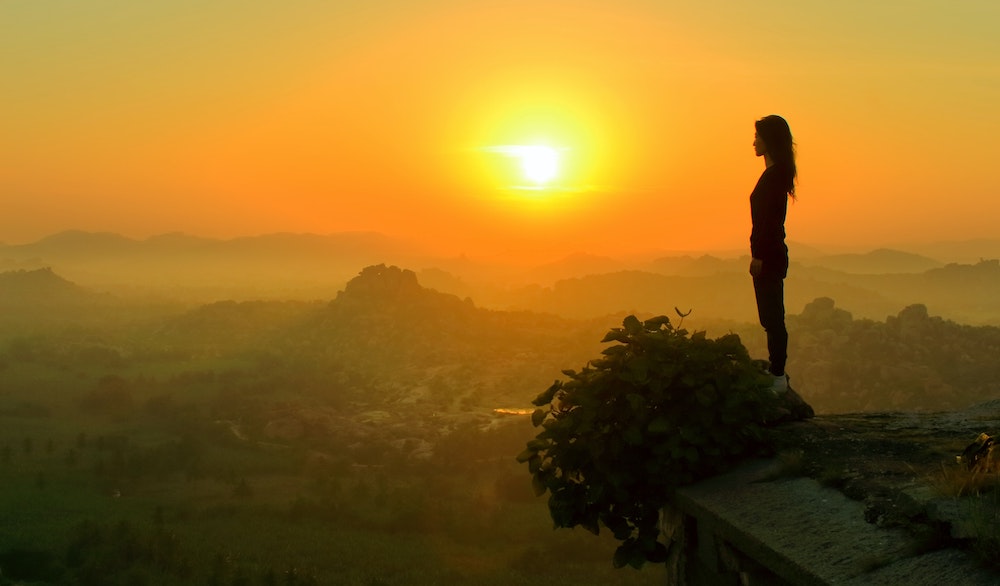
However for the purposes of mood and your color palette this can be any value, saturation and hue that you wish. Like here, where the color is affected by the bright sun:
More Details About Landscapes
 They say the devil is in the details
 Ah don't know what that means, so I guess I should read this here section.
With that out of the way, there are some other important points to remember about landscapes.
Don't Get Detailed Too Early
The first is that you will be working on it from up close, assuming you are doing it digitally, so don't get too bogged down in the detail. Remember what distance it's supposed to be viewed from!
Backgrounds are usually passed over quickly with the eye not lingering on most features for long, unless you attract attention to them. Our brain is great at filling gaps, so all you have to do is suggest a shape and texture and it will do the rest.
Experiment With Texture
There are lots of different textures that a landscape can have. Clouds, water, grass, stone. I can't list how to make them, I really don't know how to make most of them anyways. You just have to experiment with different brush styles and sizes.
 You mean I have to learn by myself? Alone?
 Use these things! Everything is easier with a reference picture.
A small scattered brush, if not available then small individual points applied manually, give rough and grainy feel like some types of rock or sand. Larger scattered brush can simulate actual small objects or large ones at a great distance, such as leaves on far away trees. Large overlapped strokes from a low opacity hard edged brush gives the impression of striations such as sandstone or wood.
Remember, as you get farther away you should decrease the brush size to keep consistent with perspective.
Shading
 I seem to be shaded very well, why can't everything be like me?
The last, and perhaps one of the most important parts is shading. If you block in color for the background and just leave it it will look flat. Objects in the background behave just like object in the foreground, albeit smaller and fainter, however they still have shading, highlights and shadows. Having a consistent lighting source for your background will help give it depth and make it feel more real. Remember the previous point. You don't have to shade everything in the background as meticulously as you do for your foreground. Just having a light and dark area consistent with the lighting source is usually enough to give it 3-dimensionality.
Examples
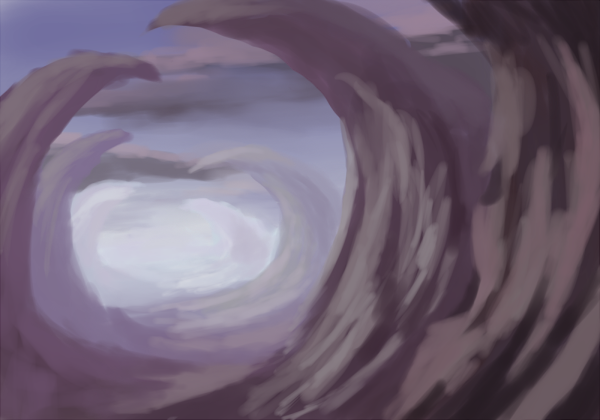
Oh god, I had some old examples up here but it was noting short of hideous. I can't believe nobody stopped me. I just whipped up a 2-part example really fast with color blocking and then some rough lighting:

 Now head out there and double the landscapes. No, triple them I say!